Showing posts with label Art. Show all posts

Friday, August 10, 2012

The Heart of a Servant

Last night, my sister Hannah spent the night at our house to cut down on the drive to San Diego where she would be joining a group to do medical missions in Tijuana for the weekend. This also gave Nicole plenty of time to play with her.

For part of the morning, Nicole carried Hannah's car keys and Diet Coke around everywhere:


 Even on the morning walk:


After Hannah left, Nicole was very sad. She played with her watertable (which soaked her outfit, so this was taken after I took of said outfit and before I put a new one on. If you look at this post, she is in 3 different outfits all in one day...) and then came in and waited for Hannah:

After her nap, we tried a few activities: bag fingerpainting was not a hit. Okay, she pretty much just wanted to play with the tape. I wasn't overly impressed, but I am thinking if I try this again I will use the thicker ziploc bags (the freezer ones) and see if this works better.

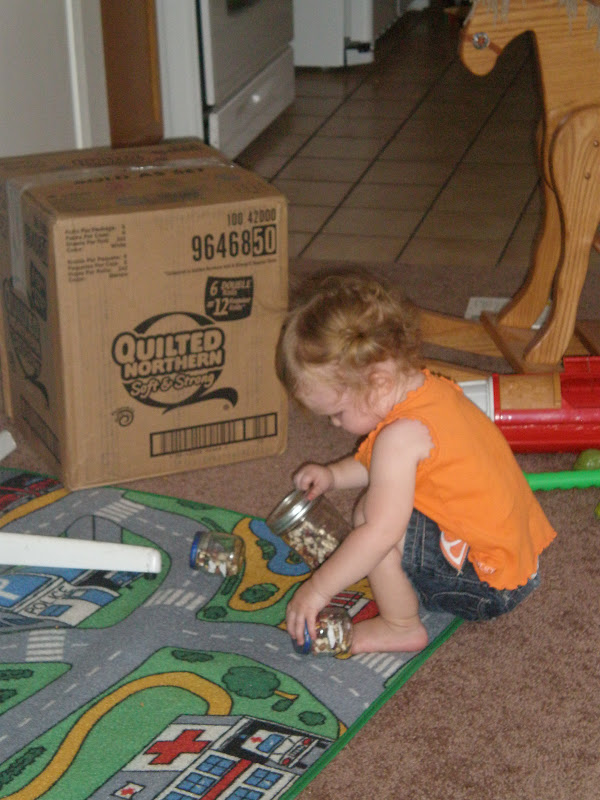
Stacking: This was a spur of the moment impulsive activity. While cleaning out my teaching supplies, I found a container of beans. I filled two baby food jars and one mason jar and she had a blast stacking and knocking them down and carrying them around the house. I will be on the lookout for more plastic jars with screw on lids. The glass makes me nervous. *I do not normally keep boxes of toilet paper in the living room, but that has become her new favorite place to color, so there it sits*

Saturday, July 28, 2012

Organization

First, a picture of Nicole using the crayons from my last post.

Lately, I have been on a super organizing streak! Target has been profiting well from all the storage containers that I have purchased there in the last two weeks! I have also created a toy rotation system for Nicole's toys.

My current project has been to find a way to organize all the awesome ideas that I find on Pinterest! I have decided to use buckets to make premade kits of some of the activities so I have all the items that I need in one place. Unfortunately, Target only had 3 with lids in stock, so this has been put on hold.

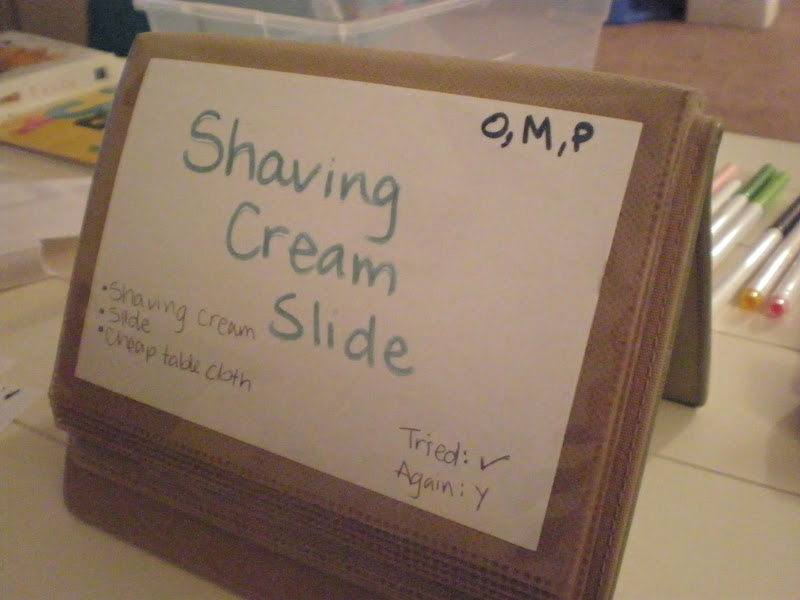
I also wanted to have the activities on cards so they are easy to use and easy for me to pull out when I need to use them. On the front of each card is the name of the activity, a simple coding system for a brief overview of what the activity entails so I can mix it up during the week (see the key below), the ingredients needed, a place to check once I've tried it, and then a place to mark if I want to do it again and to make a note if I need to make any modifications or wait until she is older to try again.


The back has any directions that I need, a diagram (if needed), any changes to make, or it's just left blank if the front already explains everything.

Here is the key for the cards, I will add to it as needed.

At our wedding, we received this really neat photo album that can close like a book so I can keep it on the shelf, or I can flip it and it will stand up so I can flip the card and put it direction side out and the plastic will protect the card during our messy activities.

I can also put the cards on my rolling coat rack that holds other supplies so I know which activities I have planned for the week.

Yes, I know I have over organization issues....

Wednesday, July 25, 2012

Fun with colors

Can I just start with this: I LOVE PINTEREST!!!!!

As many of you know, Nicole is a VERY busy little girl!  This has challenged me to be a very creative mom to come up with fun activities! So, now I spend her naptime browsing on Pinterest (there are some super creative blogs created by moms with young children) and prepping fun activities.

Here are our activites so far:

Bubbles in the water table


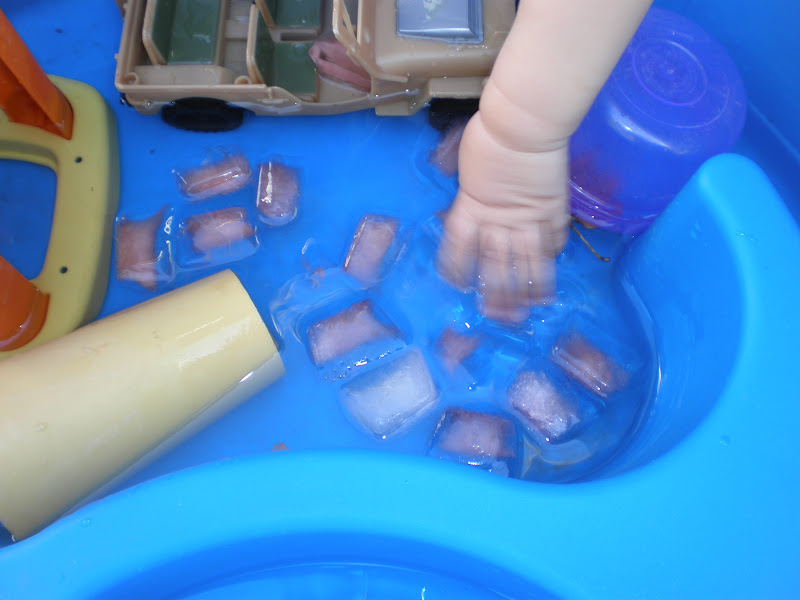
Colored Ice Cubes

This ended up being a two attempt activity and I'm not overly impressed with it. I found that it takes quite a bit of food coloring mixed with the water and it didn't look as cool as it did in the instructions. However, Nicole still enjoyed splahing in red water!

Take 1


Take 2 *It also showed up better in the clear container instead of the water table*


Rainbow Crayons

I bought Nicole one set of toddler crayons, which she promptly destroyed. So I decided to make some fun rainbow crayons for her. Most blogs that I saw suggested that I melt them in a muffin tin in the oven, but I didn't see how those could be easy for her to hold. I then remembered some awesome ice cube trays that Nick gave me for my birthday a few years ago. They are meant to be used to make ice cubes that fit into the opening of a waterbottle. Consequently, they are also the right size and shape to make toddler crayons. The only drawback is that it can't go in the oven.......however, it's my favorite season: SUMMER! I just stick the tray outside for a few hours/days and now I have crayons!


Please note: This is my hand, Nicole is sleeping and I didn't want to wait to post this blog!